Settings
Configure categories, statuses, integrations, verification page, certificates, and more from the Settings area.
The Settings page is your central hub for configuring how your RivetChainworkspace looks and behaves. It is organized into tabs, each covering a specific area of configuration. You can access Settings from the sidebar navigation in your dashboard.
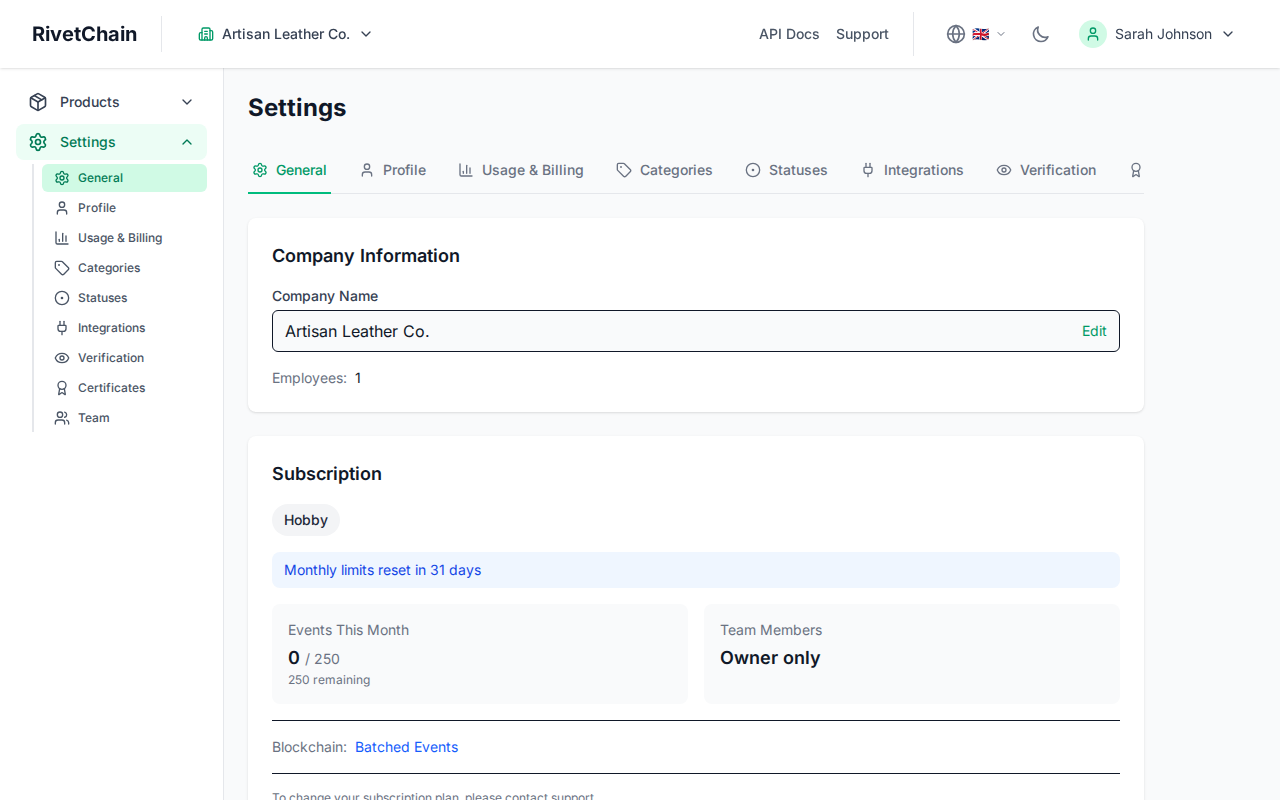
General Settings
The General tab contains your core workspace settings, including your company name. The company name appears on certificates, verification pages, and any public-facing content generated by RivetChain. You can also delete the company from this tab if needed.
Profile
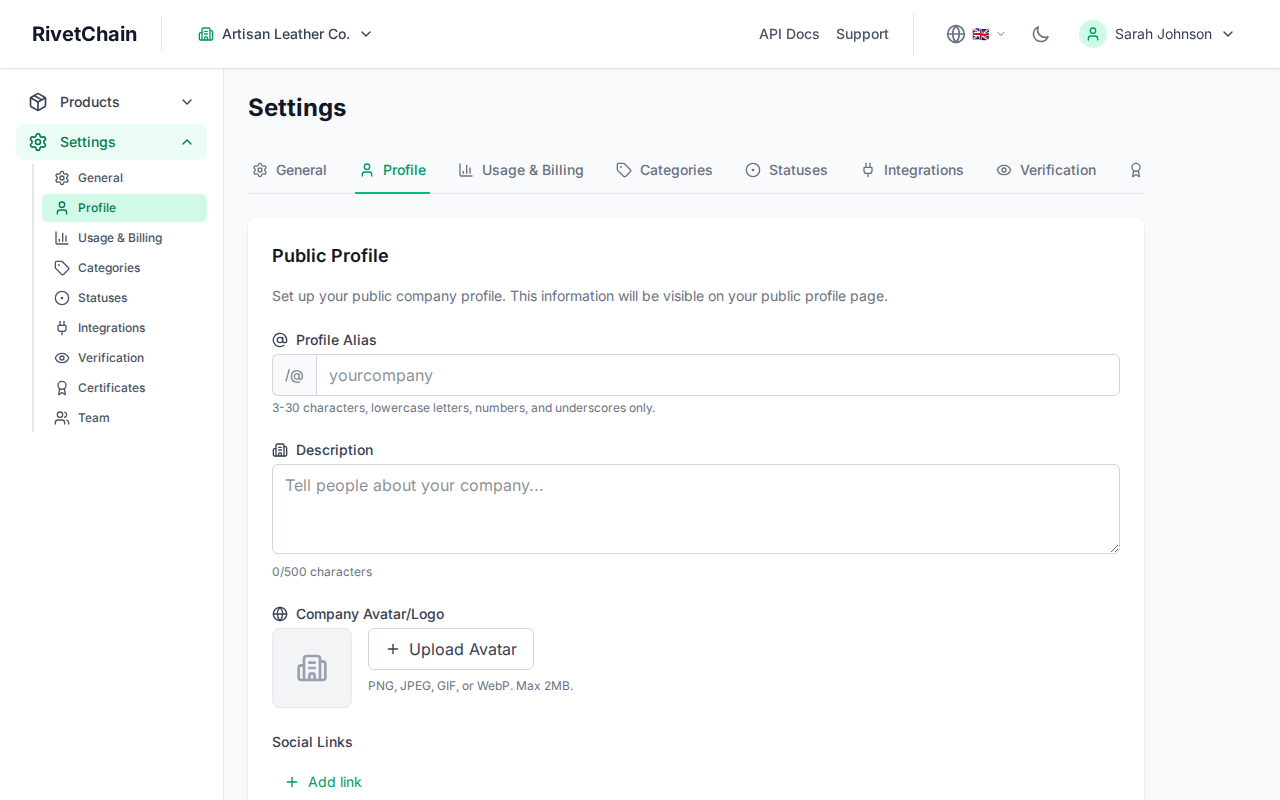
The Profile tab controls your public-facing company profile. This includes your company alias (used in public URLs), avatar or logo, and social media links. The profile information is displayed on your public company page and can help customers identify and trust your brand when verifying products.
Categories
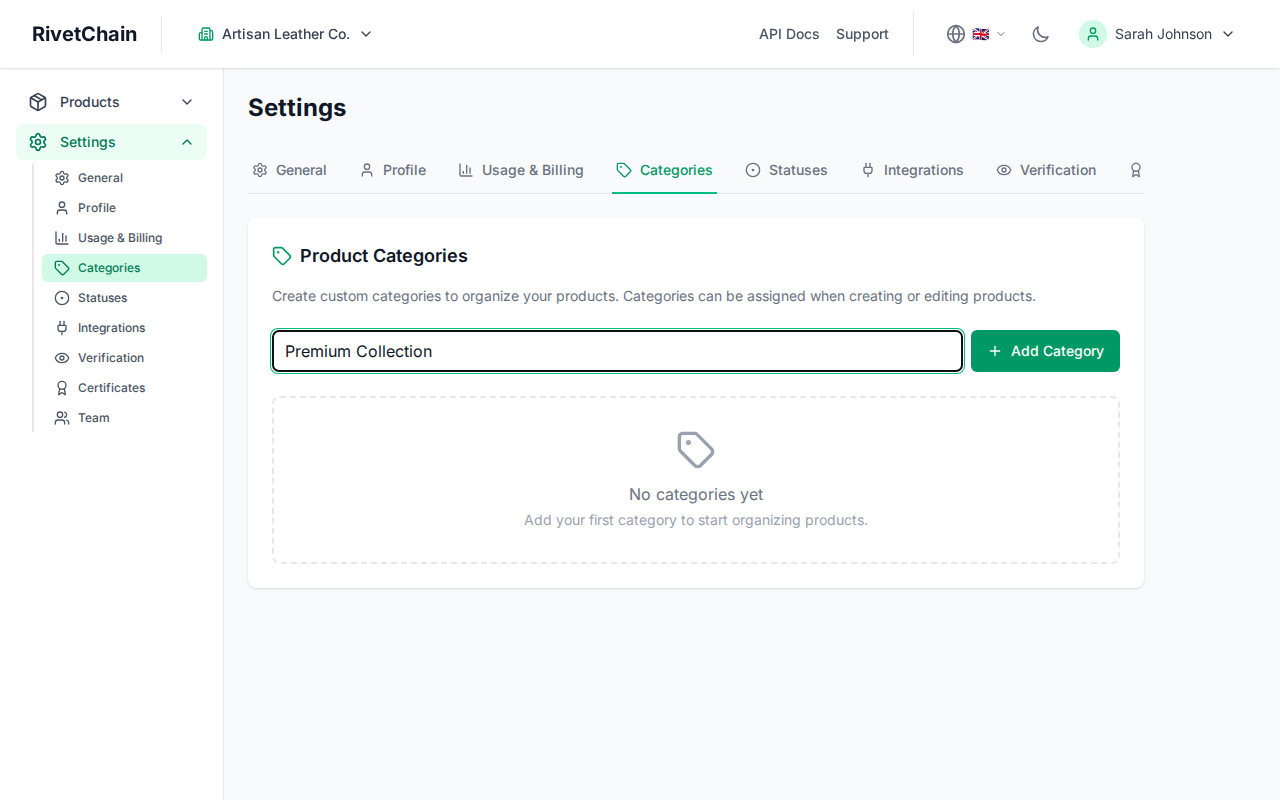
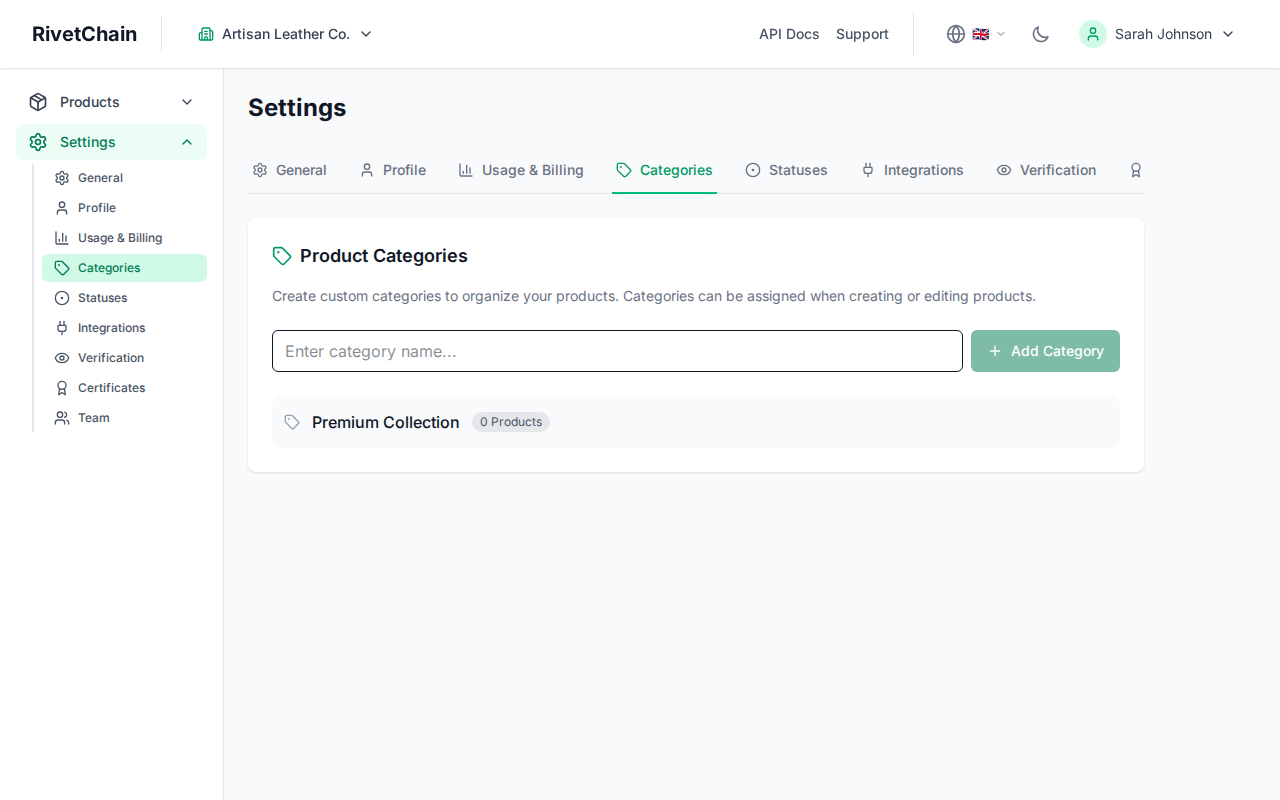
Categories help you organize your products into logical groups. You can create as many categories as you need and assign them to products during registration or editing. Categories appear as filter options on your dashboard, making it easier to find and manage products as your catalog grows.
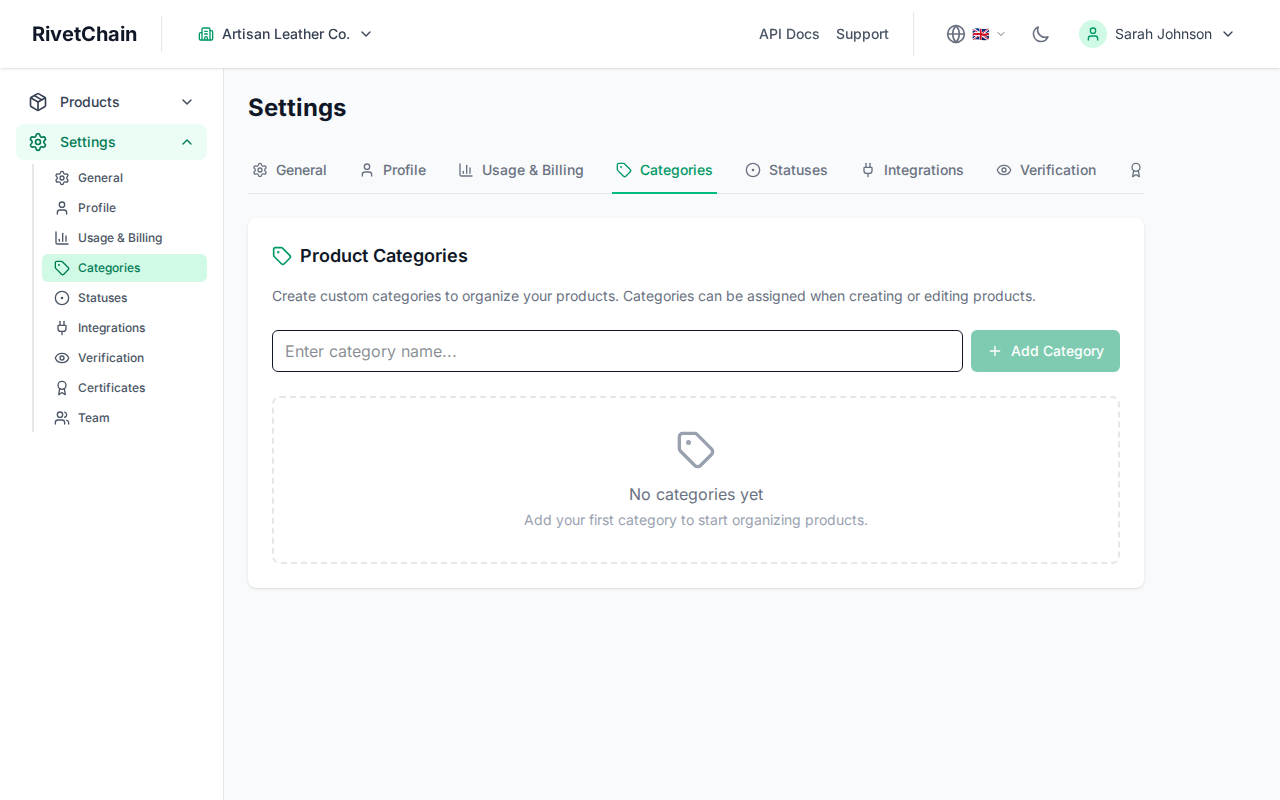
To add a new category, click the "Add Category" button and enter a name. Categories are saved immediately and become available for product assignment right away.
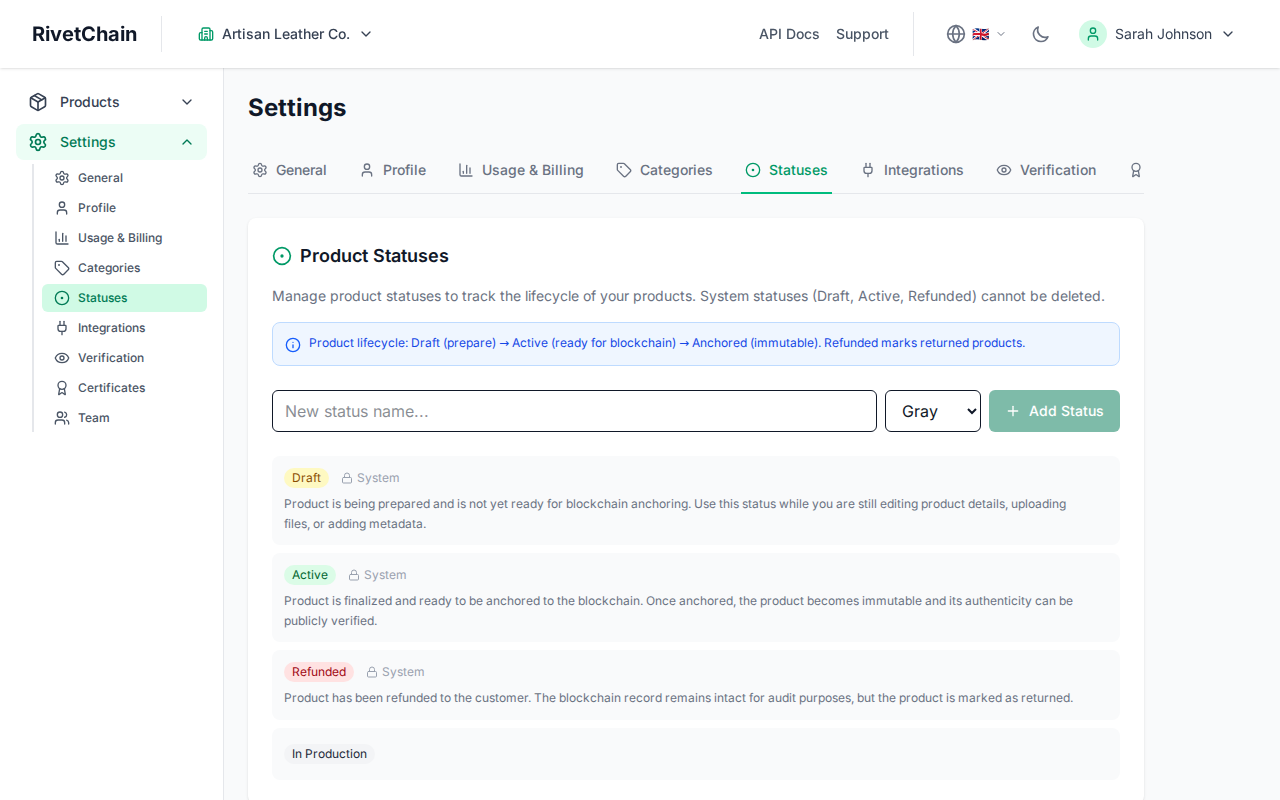
Statuses
Custom statuses let you define the lifecycle stages that matter to your business. By default, RivetChain provides basic statuses, but you can create your own to match your specific workflow. For example, a watch manufacturer might add statuses like "Assembled," "Quality Checked," and "Shipped," while an art gallery might use "Authenticated," "On Display," and "Sold."
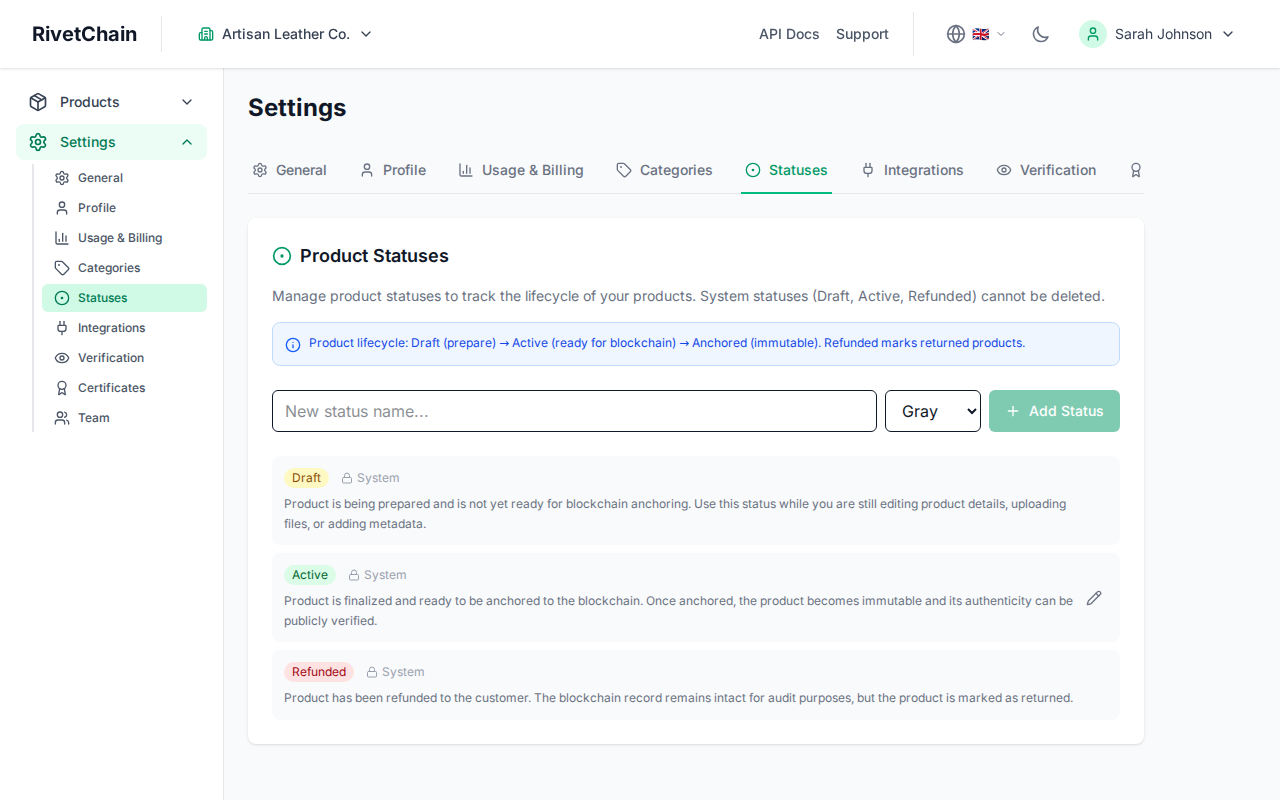
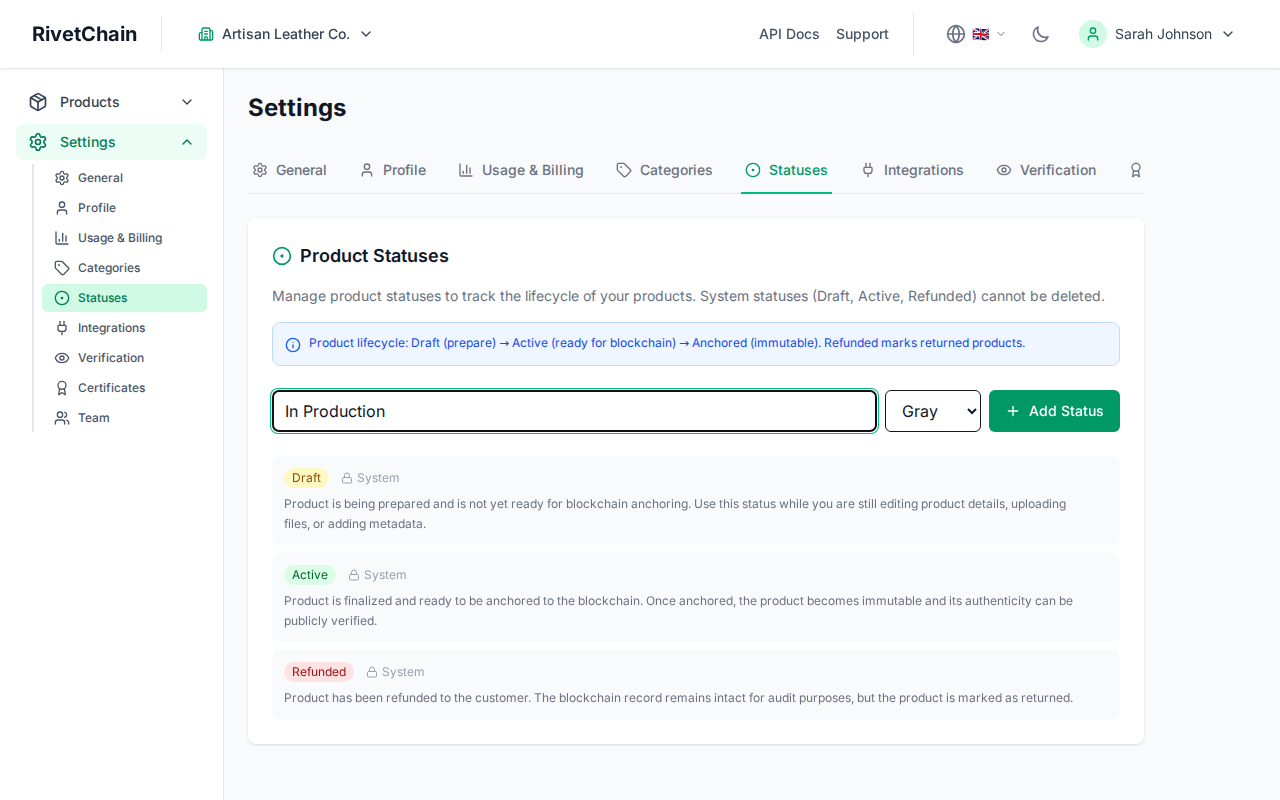
Adding a new status works the same way as categories. Click "Add Status," enter a name, and it becomes available immediately for use in product events.
Verification
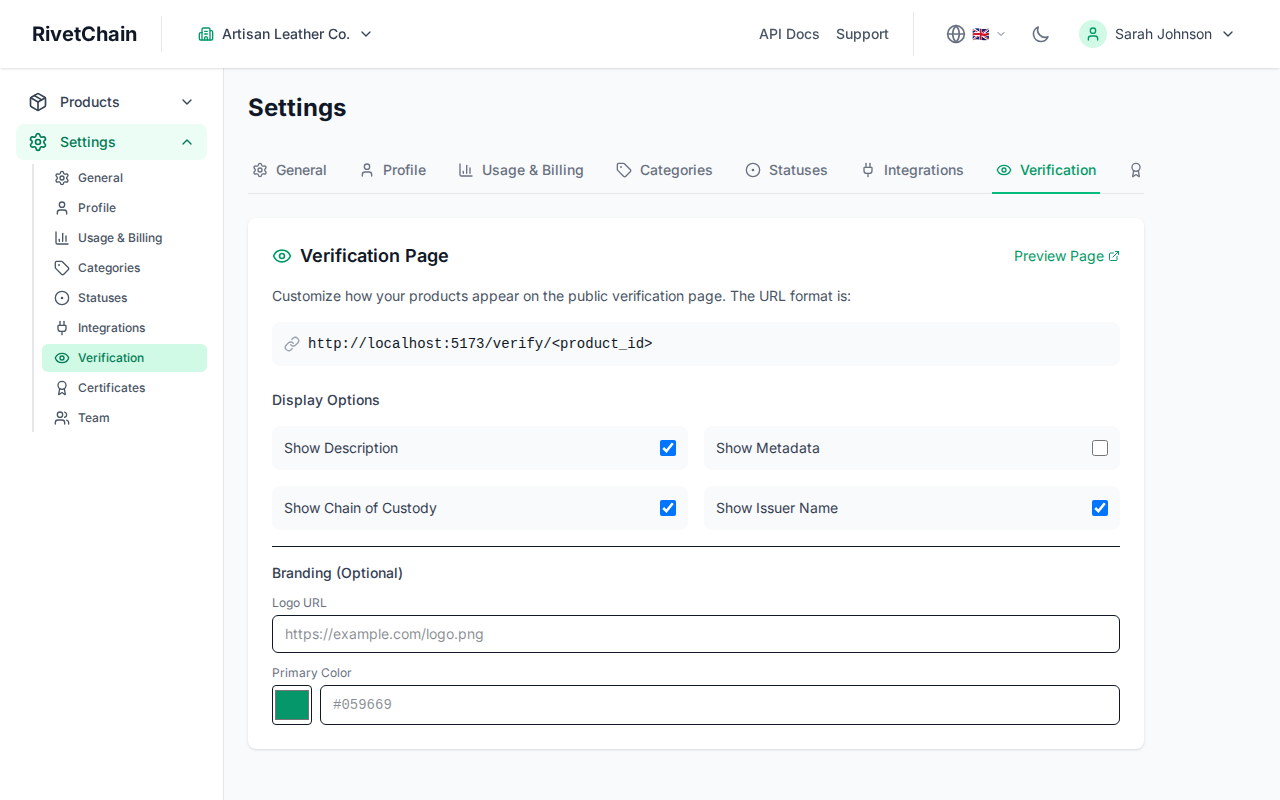
The Verification tab lets you customize how your public verification page looks to end users. You can adjust branding elements such as colors, logo placement, and the information displayed on the verification results page. This is the page that customers see when they scan a QR code or visit the verification URL for one of your products.
Certificates
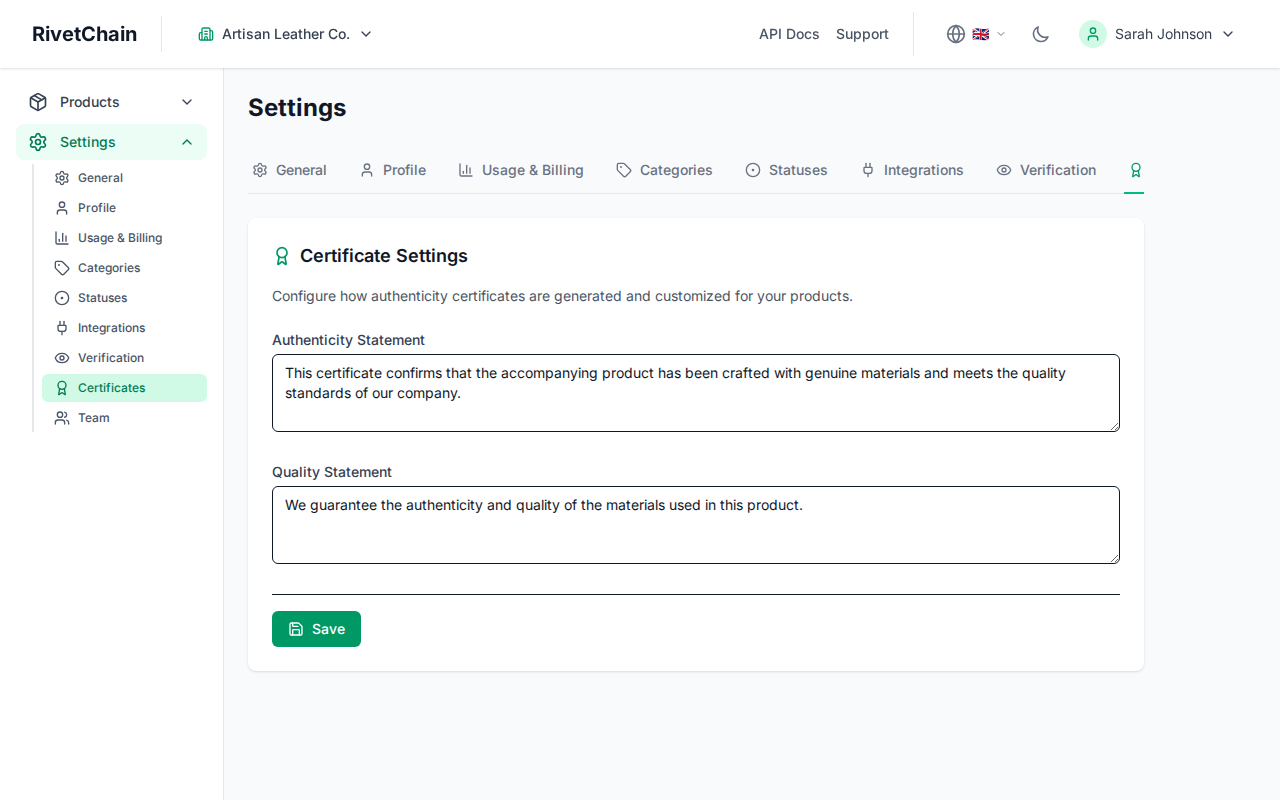
The Certificates tab controls how certificates of authenticity are generated and what they look like. Certificates are PDF documents that include product details, ownership information, a QR code for verification, and your company branding. From this tab you can:
- Turn order certificates on or off: "Turn Shopify orders into certificates" is the main switch. When it is off, new Shopify orders create nothing: no products and no certificates. Turning it on starts with the next order placed, not past ones.
- Turn automatic certificates on or off: with "Generate on order fulfillment" on, a certificate is created and emailed to the buyer when a Shopify order is fulfilled. With it off, orders are still tracked as products, but no certificate is emailed.
- Write your statements: the authenticity and quality statements printed on the certificate.
- Exclude customers by tag: customers with any of the Shopify tags you list do not receive certificates automatically.
- Choose a certificate design: pick a layout from the design gallery, choose what is shown on the certificate, and preview a sample PDF before saving. Hobby uses the Classic layout; Growth adds your logo and an accent color; Scale unlocks every layout and option. A new design applies to new certificates only.
- Set where customer replies go: RivetChain emails your customers on your behalf. Replies to those emails go to the address you enter here (by default, the account owner's email or your Shopify store's contact email).
Integrations
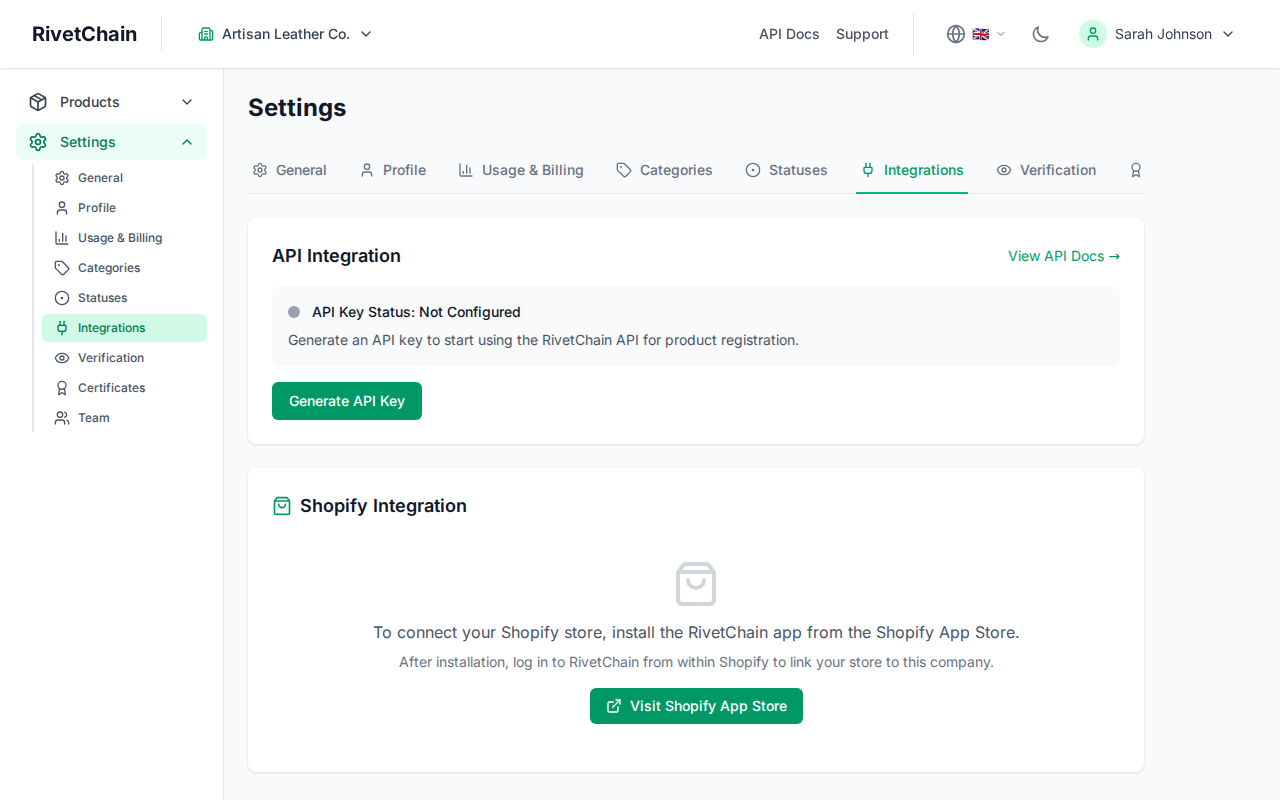
The Integrations tab is where you generate your company's API key, see the status of your Shopify connection, and copy the embed code for the certificate search widget (Scale plan). The API key lets external applications work with your RivetChain workspace programmatically. When a Shopify store is connected, product passports are created from its orders automatically. The embed code for the per-product verification widget is in the Embed tab of each product.
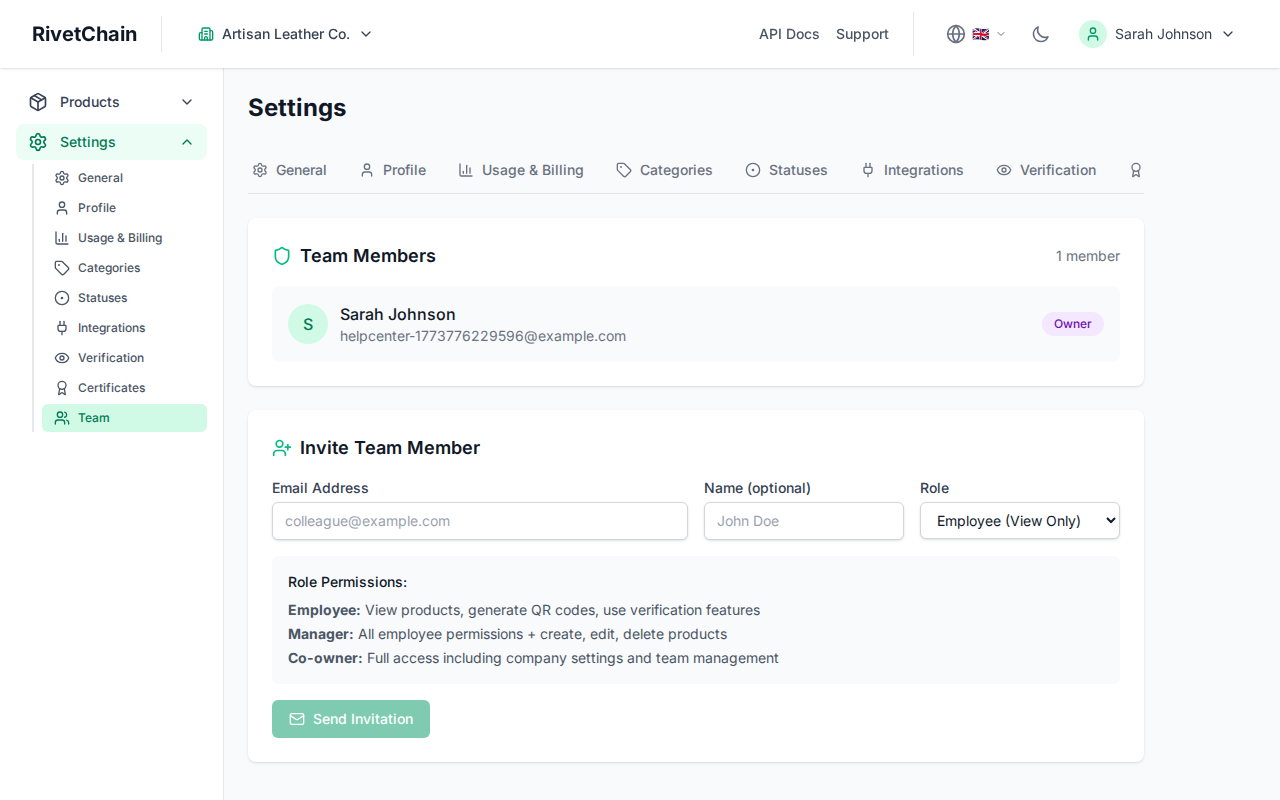
Team
The Team tab shows your current team members and their roles. From here you can invite new members to your workspace and manage existing invitations. For a detailed guide on managing your team, see the Team Management article.
Usage & Billing
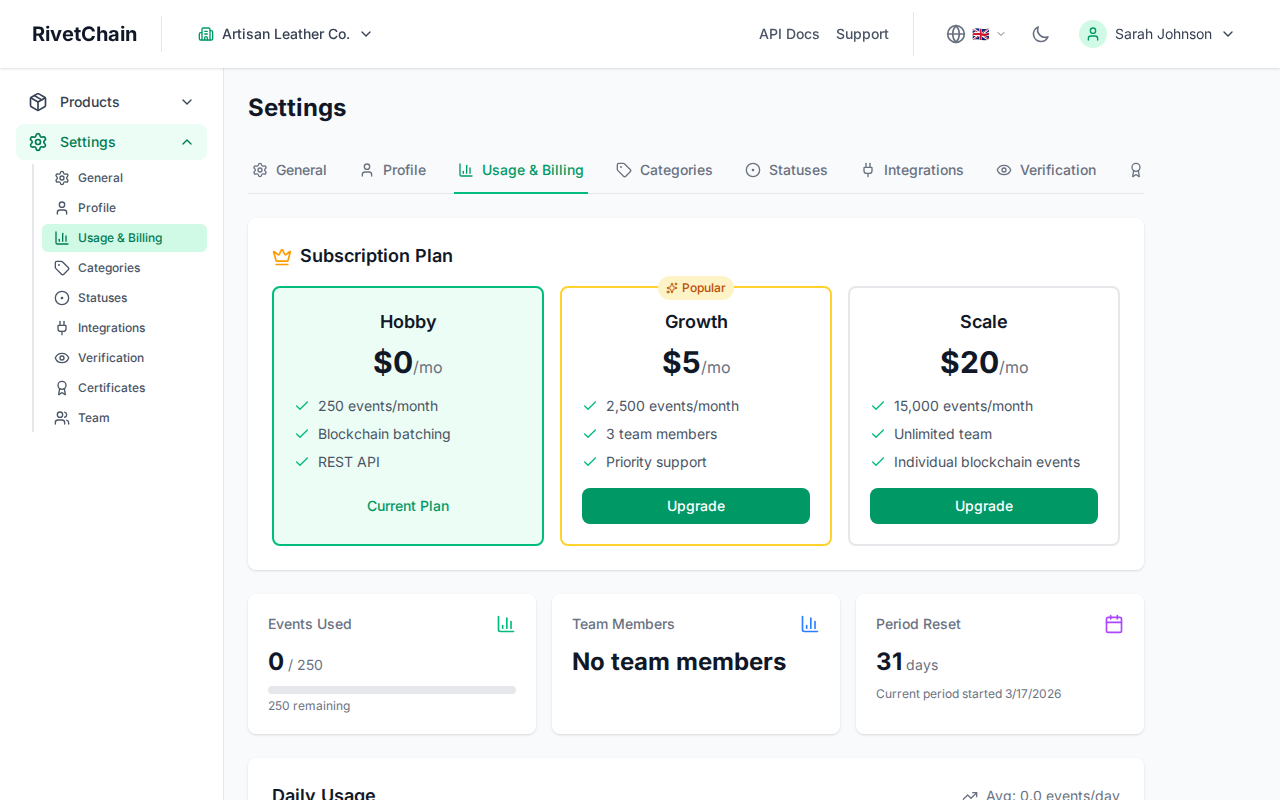
The Usage & Billing tab provides an overview of your current plan usage, including the number of events created during the current billing period and your plan limits, and lets you change your plan. For detailed information about managing your subscription and billing, see the Billing & Subscriptions article.