
Getting Started
Create your account, verify your email, and explore the RivetChain dashboard.
Create Your Account
To start using RivetChain, you need to create a free account. The sign-up process takes less than a minute and only requires your name, email address, and a password. You can also sign up with your Google account.
- 1
Visit the Sign Up page
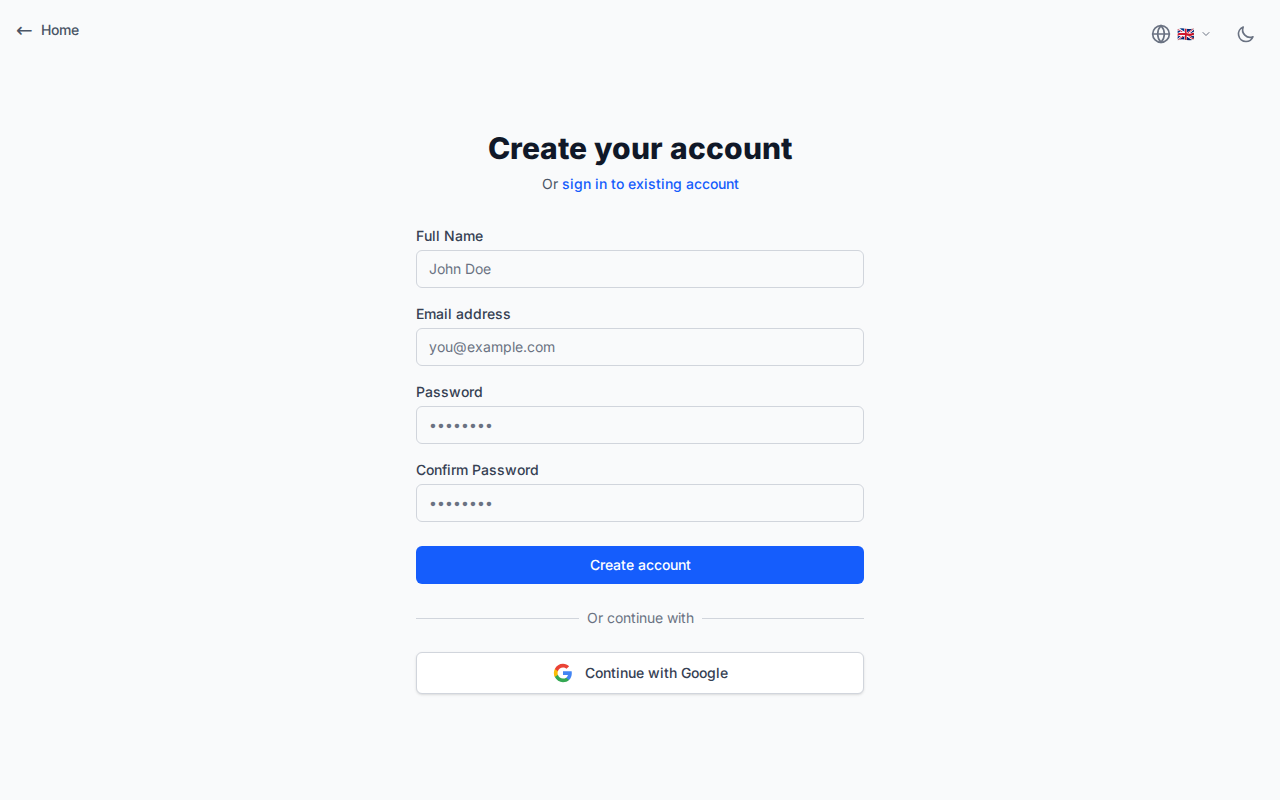
Navigate to the RivetChain sign-up page with the "Not on Shopify? Start Free" link on the homepage or going directly to /signup. You will see a registration form asking for your basic information.
- 2
Fill in your details
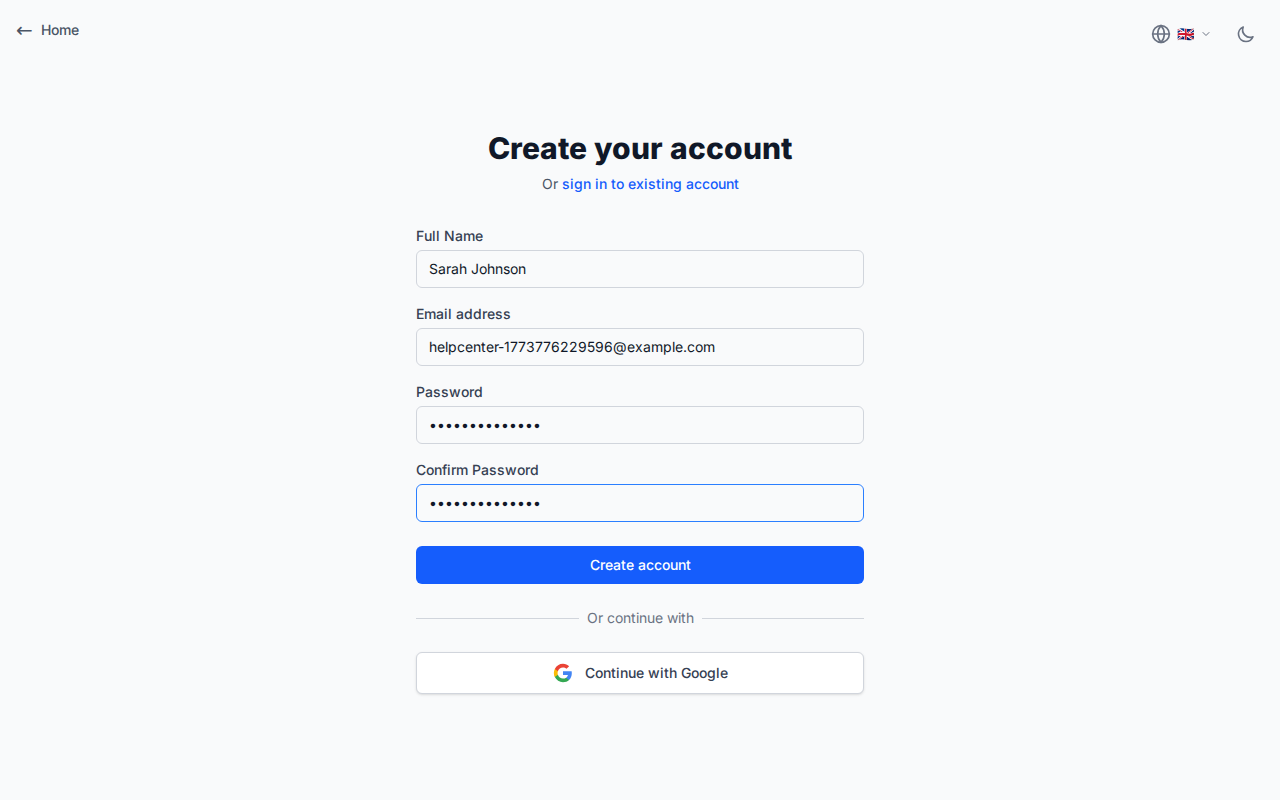
Enter your full name and email address, choose a password (at least 6 characters; longer is safer), and type it again to confirm it. Once all fields are completed, click "Create account".
Verify Your Email
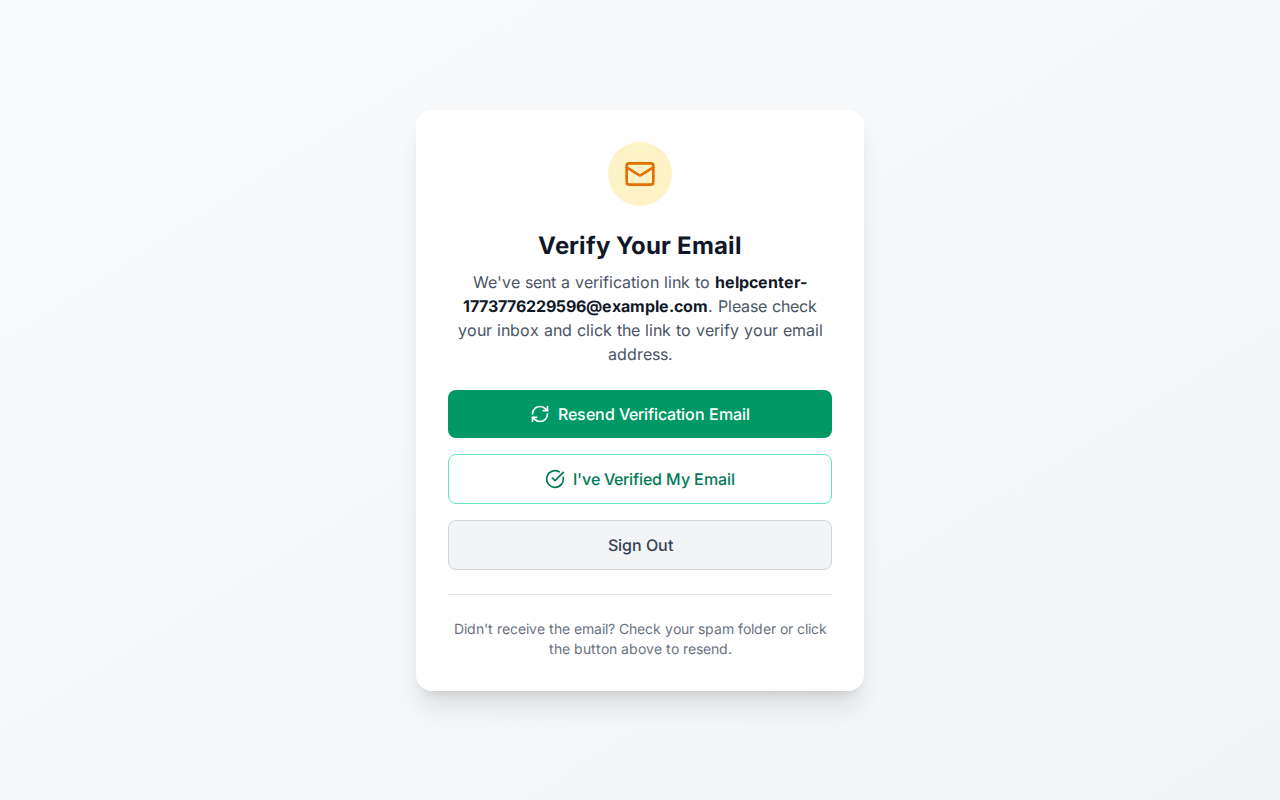
After signing up, RivetChain sends a verification email to the address you provided. You must verify your email before you can access the dashboard.
- 1
Check your inbox
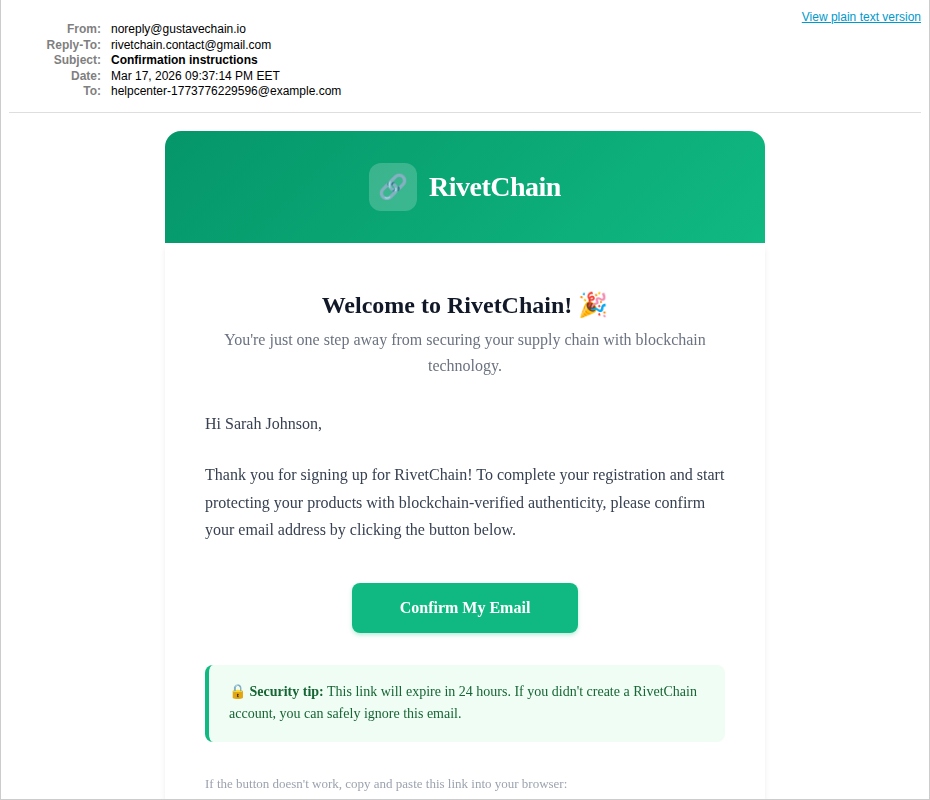
Open your email inbox and look for a message from RivetChain with the subject "Confirm your RivetChain account". If you do not see it within a few minutes, check your spam or junk folder.
- 2
Click the verification link
Open the email and click the verification link. This confirms your email address and activates your account. You will be redirected to a confirmation page.
- 3
Confirmation complete
Once your email is verified, you will see a success message confirming your account is active. You can now sign in and start using RivetChain.
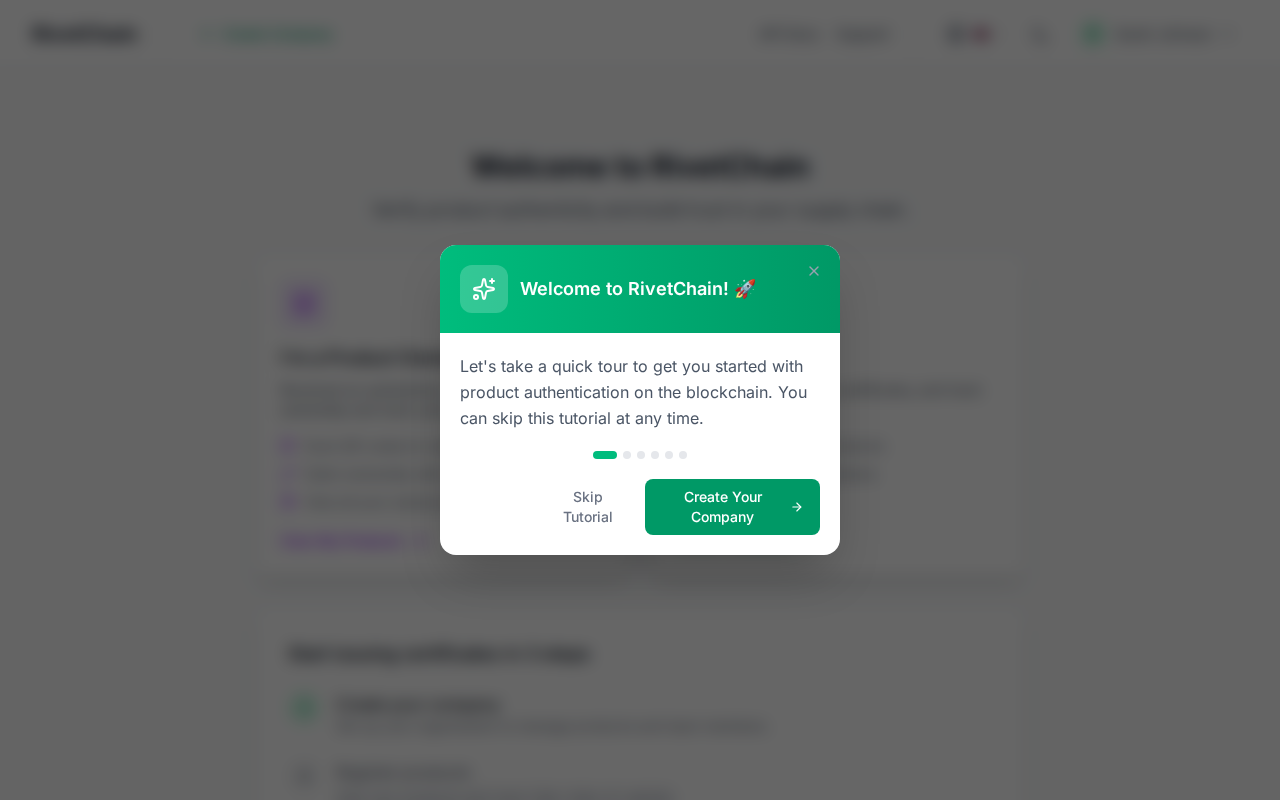
Explore the Dashboard
After signing in for the first time, you will land on your empty dashboard. This is your central hub for managing companies, products, and verification records.
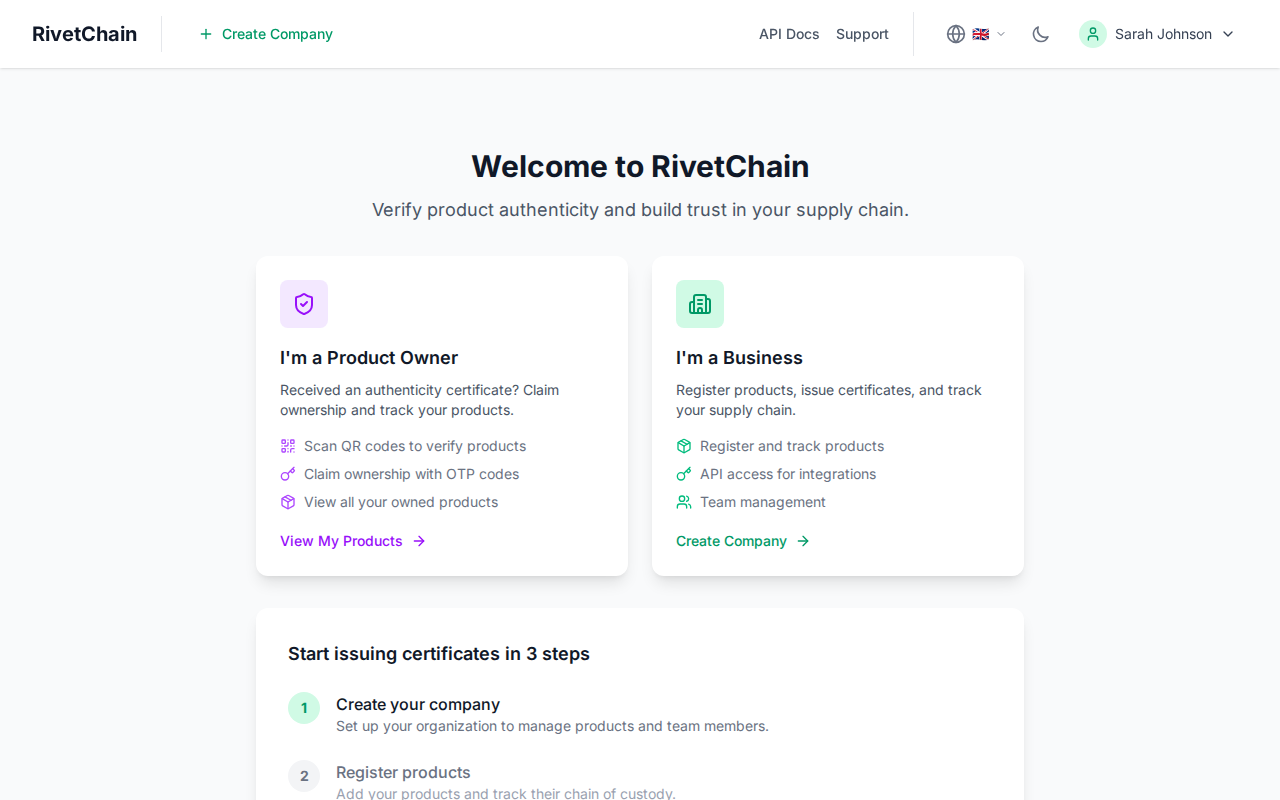
From the dashboard you can create your first company, register products, and start building verifiable product records, with optional blockchain anchoring for the products you choose. The navigation at the top of the page gives you quick access to the dashboard, API docs, support and this Help Center.
Protect Your Account With Two-Step Sign-In
Two-step sign-in asks for a 6-digit code from an authenticator app (any TOTP app, such as Google Authenticator or 1Password) every time you sign in, so a stolen password alone is not enough. It is optional and off by default.
- 1
Open My Account
Click your name in the top navigation and choose "My Account". The "Two-step sign-in" section is below the password.
- 2
Turn it on
Click "Turn on", enter your current password (Google-only accounts skip this), then scan the QR code with your authenticator app. If you cannot scan, type the setup key into the app.
- 3
Confirm with a code
Enter the 6-digit code the app shows and click "Verify and turn on".
- 4
Save your recovery codes
You get 10 one-time recovery codes. They are shown only once, so copy or download them and keep them somewhere safe. Each one signs you in once if you lose your phone.
At sign-in you enter your password, then a code from the app (or a recovery code, using the "Use a recovery code" link). In My Account you can get a fresh set of recovery codes or turn two-step sign-in off; both need a current code. We send you an email whenever it is turned on or off. Signing in with Google also asks for the code once two-step sign-in is on. Using the Shopify app does not need it: Shopify signs you in.